device-docs
Change Ingredient Amounts
This page shows you how to change how much of each ingredient goes into a recipe.
How to Open a Recipe
-
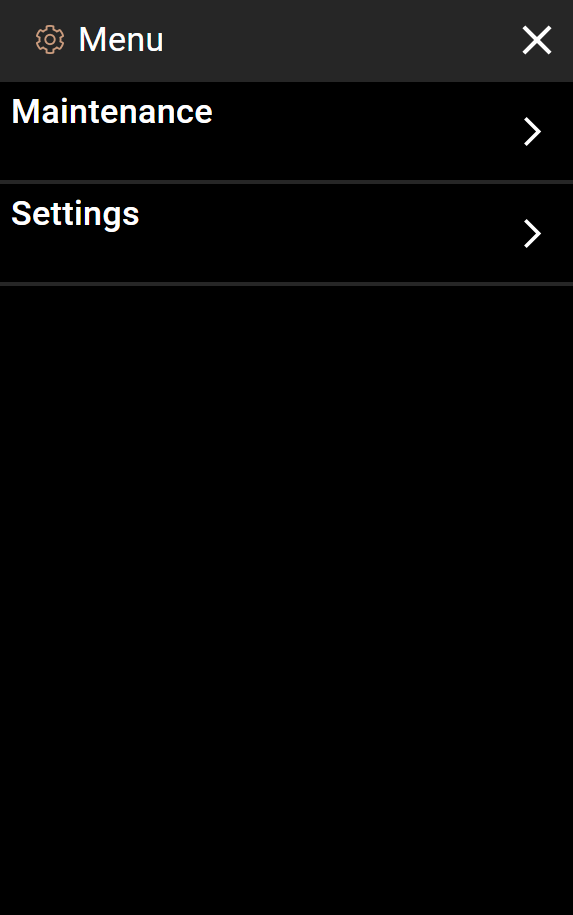
Tap the menu icon (three lines) in the top-left corner of the home screen.
-
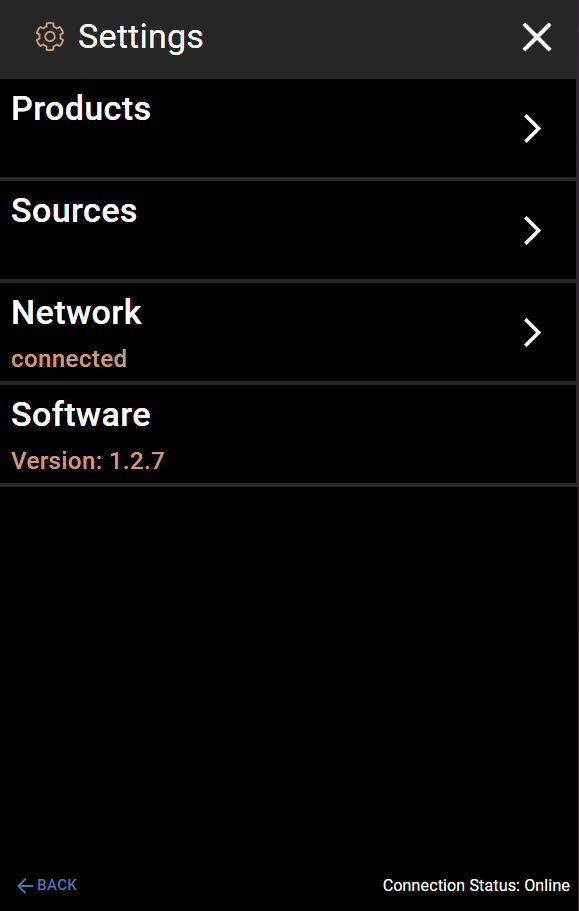
Tap Settings.
-
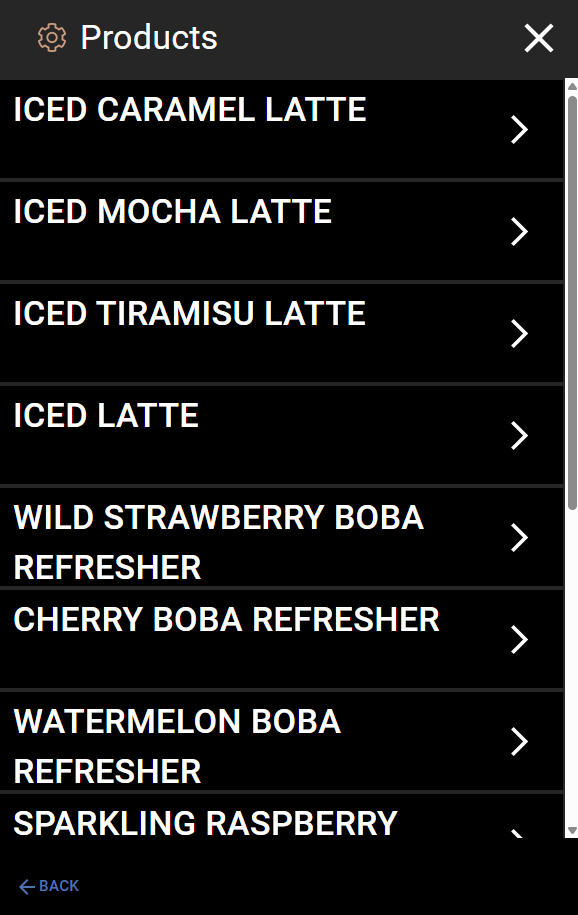
Tap Products. You will see a list of all recipes.
-
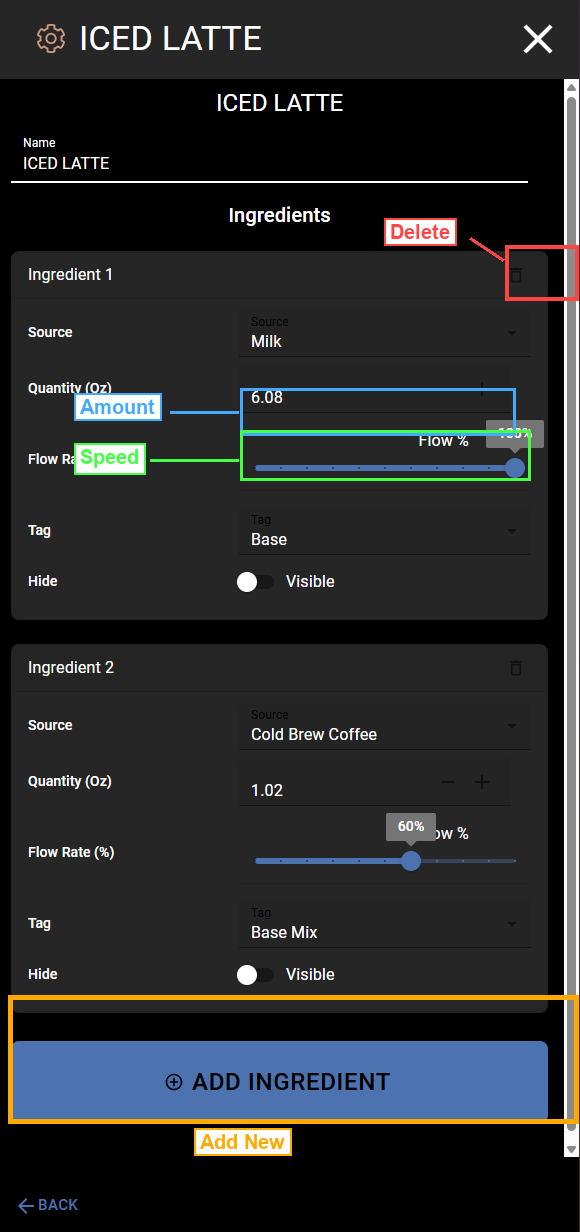
Tap the recipe you want to change. The Recipe Editor will open.
Change the Amount of an Ingredient
Each ingredient card shows the current amount in ounces next to Quantity (Oz) (marked in blue in the screenshot above).
To change the amount:
- Find the ingredient you want to change (for example, “Milk” or “Cold Brew Coffee”).
- Look at the Quantity (Oz) field. It shows the current amount.
- Tap the + button to add more, or tap the - button to use less.
- The number will update as you tap.
Example: In the screenshot above, Ingredient 1 (Milk) is set to 6.08 oz and Ingredient 2 (Cold Brew Coffee) is set to 1.02 oz.
Change the Flow Rate
The Flow Rate (%) slider (marked in green in the screenshot) controls how fast the ingredient comes out of the machine. A higher number means faster flow.
To change the flow rate:
- Find the ingredient you want to change.
- Look at the Flow Rate (%) slider.
- Drag the slider left to slow it down, or right to speed it up.
- The percentage number on the right side will update as you drag.
Example: In the screenshot, Milk is set to 100% flow rate and Cold Brew Coffee is set to 60%.
Tip: Only change the flow rate if a drink is pouring too fast or too slow. If you are not sure, leave it at the current setting.
Understanding Tags
Each ingredient also has a Tag setting. The Tag controls when the ingredient pours during the drink. The machine pours in stages, with a brief pause between each stage.
| Tag | When It Pours | Use It For |
|---|---|---|
| Base | Stage 1 (first) | The main liquid (milk, water, soda water) |
| Base Mix | Stage 1 (first) | What mixes with the base (coffee, soda syrup) |
| None | Stage 1 (first) | Extra flavors in the first pour (vanilla, caramel) |
| Stage 2 | Stage 2 (after a pause) | Toppings or layers (cream topper) |
| Stage 3 | Stage 3 (last) | Anything added at the very end |
Tip: You usually do not need to change the Tag unless you are moving an ingredient to a different stage or adding a new ingredient. See Add an Ingredient for more detail on picking the right Tag.
Hide / Visible Toggle
Each ingredient has a Hide toggle. When set to Visible, the ingredient shows up in the ingredient list on the Drink Build screen (the screen the customer sees when pouring a drink). When set to Hidden, the ingredient still pours, but the customer does not see it listed.
This is useful for ingredients you do not want to show the customer, like water or a base ingredient.
When You Are Done
Tap the X in the top-right corner to close the recipe editor and go back to the Products list. Tap BACK at the bottom-left to go back to Settings.
Your changes are saved when you close the editor.